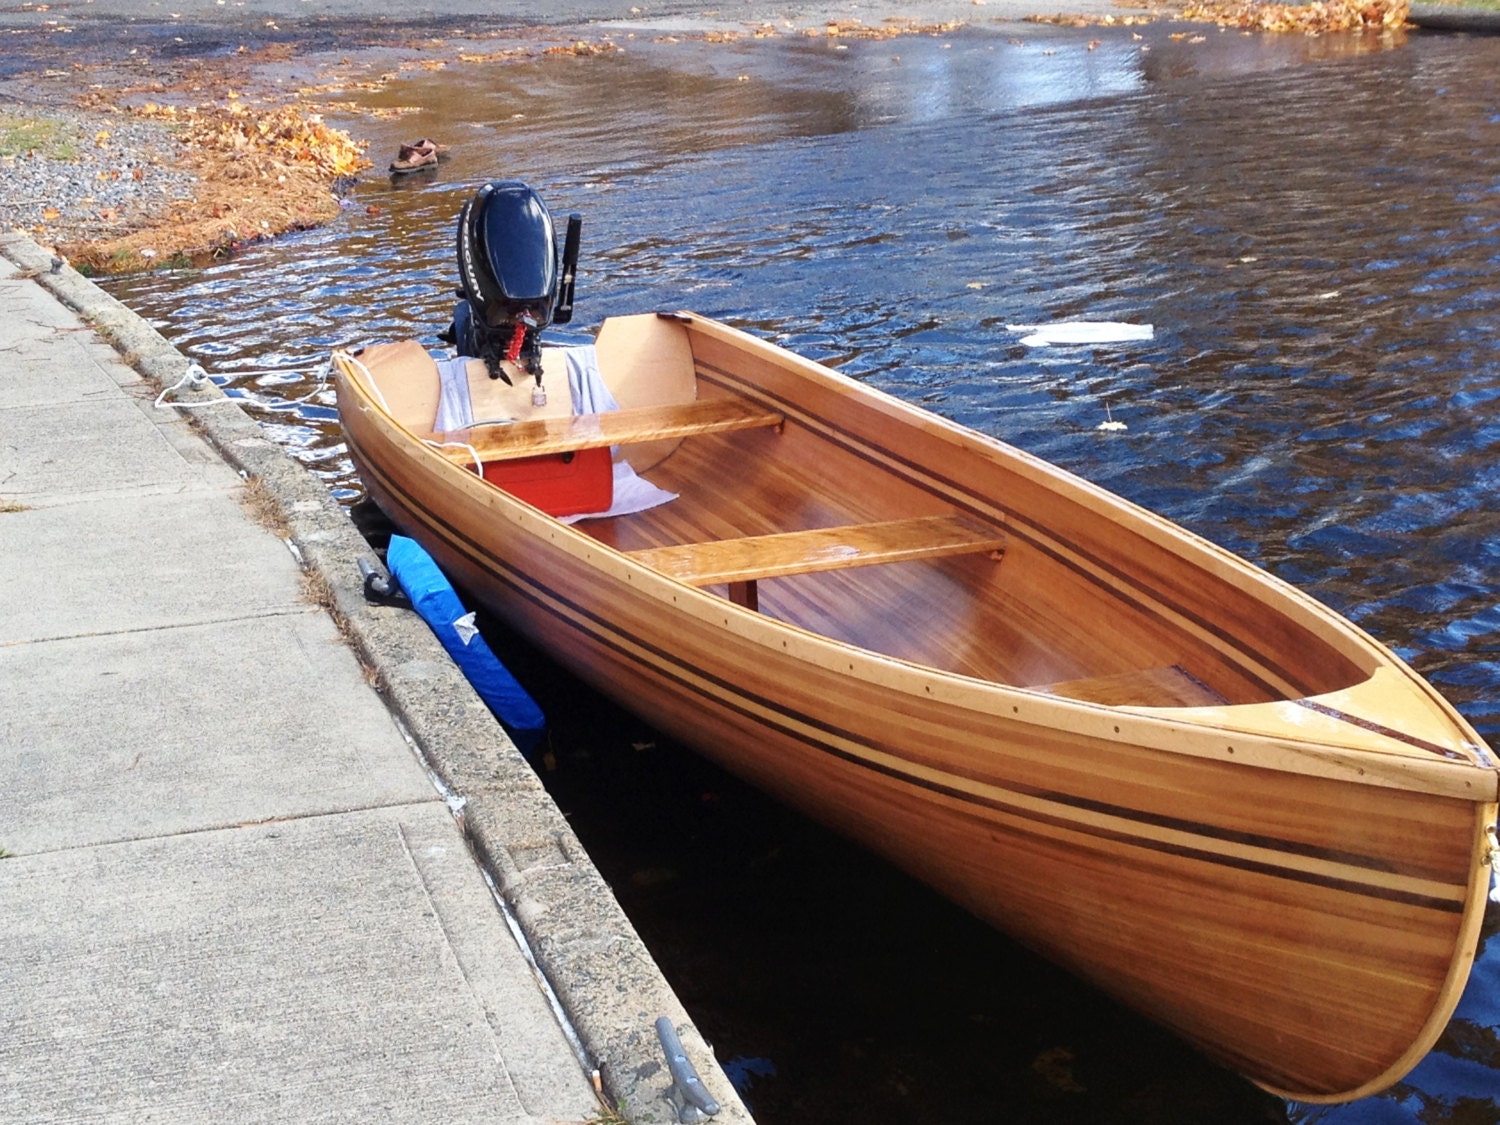
Restoring an Old Wooden Boat: A Comprehensive DIY Guide
Owning a classic wooden boat is a dream for many. These vessels, crafted with care and skill, possess a timeless beauty and charm that transcends generations. However, years of use and exposure to the elements can take their toll, leaving them in need of restoration. Embarking on this journey, though challenging, can be incredibly rewarding, offering a chance to breathe new life into a piece of maritime history. This guide provides a comprehensive overview of the restoration process, outlining the essential steps and considerations for restoring an old wooden boat through a DIY approach.
Assessment and Planning
Before diving into the restoration, a thorough assessment is paramount. This involves carefully examining the boat's condition to identify the extent of damage, determine the necessary repairs, and prioritize tasks.
1. Visual Inspection
Start by meticulously inspecting the boat's exterior and interior. Look for signs of:
- Rot and decay: Soft spots, cracks, or crumbling wood indicate areas needing repair or replacement.
- Cracks and splits: These can occur in the hull, deck, or planking and require attention to prevent further damage.
- Leaks: Check for leaks in the hull, deck, or seams, identifying areas needing sealing or caulking.
- Corrosion: Examine metal fittings, hardware, and fasteners for signs of rust or corrosion.
- Paint and varnish: Assess the condition of the paint and varnish, determining whether they need stripping, sanding, or repainting.
- Structural integrity: Evaluate the overall structural integrity of the boat, paying close attention to the keel, ribs, and frames.
2. Documentation and Research
Once the visual inspection is complete, gather as much information as possible about the boat's history, design, and materials. This information can be invaluable in making informed decisions regarding restoration techniques and material selection. Consult historical records, boat plans, or contact reputable boat builders or restoration specialists for guidance.
3. Developing a Restoration Plan
Based on your assessment, create a detailed restoration plan that outlines the scope of work, specific tasks, materials needed, and estimated timeline. Break down the project into manageable phases to ensure a smooth and efficient restoration process.
Preparation and Dismantling
Before you start the actual restoration, prepare the boat and workspace. This includes:
1. Workspace
Select a well-ventilated and spacious workspace, ideally with access to power and water. Ensure the area is protected from the elements and suitable for handling large wooden components.
2. Boat Cleaning
Thoroughly clean the boat's exterior and interior using appropriate cleaning agents and tools. Remove any loose debris, dirt, or grime. Pay special attention to removing any marine growth or algae.
3. Dismantling
Carefully dismantle the boat, removing components that need repair or replacement. This may involve detaching the rigging, sails, mast, and other removable parts. Document the dismantling process to ensure proper reassembly later.
Hull Repair and Restoration
The hull is the heart of the boat, providing its structural integrity. Restoring the hull involves addressing any damage and ensuring its watertightness.
1. Rot and Decay Repair
Areas of rot or decay require careful repair or replacement. This may involve:
- Removing rotten wood: Carefully cut away the damaged wood, ensuring a clean and sound surface for repair.
- Replacing rotted wood: Use suitable wood species, like marine plywood or cedar, for replacement. Ensure proper fit and secure fastening with marine-grade fasteners.
- Epoxy and fiberglass: Use epoxy resin and fiberglass cloth to reinforce weakened areas and prevent further rot.
2. Crack and Split Repair
Cracks and splits can be repaired by:
- Filling: Use epoxy resin or wood filler to fill the cracks and ensure a smooth surface.
- Clamping: Apply clamps to secure the repaired area and allow the filler to cure properly.
3. Caulking and Sealing
Caulking and sealing are crucial for ensuring the hull's watertightness. This process involves:- Removing old caulking: Carefully remove old caulking using appropriate tools.
- Applying new caulking: Use marine-grade caulking material, like cotton or flax, and apply it to the seams and gaps.
- Sealing: Use a sealant, like epoxy or marine varnish, to seal the caulking and prevent moisture penetration.
Deck and Superstructure Restoration
The deck and superstructure, including the cabin, cockpit, and other above-deck features, require attention to ensure their functionality and aesthetics. This involves:
1. Deck Repair
Repair any rot, cracks, or splits in the deck using the same techniques as the hull repair. Consider replacing worn or damaged decking with new wood or marine plywood. Ensure that the deck is level and free of any tripping hazards.
2. Superstructure Repair
Repair any rot, cracks, or splits in the cabin, cockpit, or other superstructure components using the same techniques as the hull and deck repair. Replace damaged components as needed. Consider sanding and repainting or varnishing the superstructure for a fresh look.
Finishing and Reassembly
Once the repairs are complete, prepare the boat for finishing and reassembly. This involves:
1. Sanding and Finishing
Thoroughly sand the boat's surface to prepare it for painting or varnishing. Use progressively finer grit sandpaper to achieve a smooth and even finish. Choose a suitable primer and paint or varnish based on the boat's material and desired finish.
2. Reassembly
Carefully reassemble the boat, following the documentation from the dismantling phase. Ensure that all components are properly aligned and secured. Reinstall any hardware, fittings, and rigging, checking for proper function.
Maintenance and Preservation
After restoration, regular maintenance is crucial to preserving your boat's condition. This includes:
- Regular cleaning: Wash the boat's exterior and interior periodically to remove dirt, grime, and salt.
- Inspecting for damage: Check for any signs of damage, leaks, or wear and tear, addressing them promptly.
- Re-caulking and sealing: Re-caulk and seal the seams and gaps as needed to maintain watertightness.
- Painting and varnishing: Repaint or re-varnish the boat's surfaces as needed to protect them from the elements.
- Winterization: Properly winterize the boat, storing it in a dry and protected environment to prevent damage from cold temperatures and moisture.
Safety Precautions
Safety is paramount when restoring a wooden boat. Consider the following precautions:
- Personal protective equipment (PPE): Wear appropriate PPE, including safety glasses, gloves, masks, and hearing protection when working with power tools, chemicals, or dust.
- Tool safety: Use tools safely, following manufacturer instructions and safety guidelines. Ensure all tools are in good working condition and properly maintained.
- Fire safety: Work in a well-ventilated area, avoid using open flames, and have a fire extinguisher readily available.
- Chemical safety: Handle chemicals, like epoxy resin and paint, with caution, following safety data sheets and wearing appropriate PPE.
Restoring a wooden boat is a labor of love that requires patience, skill, and attention to detail. By following these steps and adhering to safety precautions, you can successfully breathe new life into a classic vessel and enjoy the satisfaction of having restored a piece of maritime heritage. Remember, it's a journey that takes time and dedication, but the rewards of owning and sailing a beautifully restored wooden boat are truly immeasurable.


0 comments:
Post a Comment
Note: Only a member of this blog may post a comment.